Why You Should Run a Pi‑hole at Home (and How to Get Started)
If you’ve ever been annoyed by ads on websites, tracking across apps, or wondered how much of your internet activity is being monitored, a Pi‑hole might be the simplest and most effective upgrade you can make to your home network.
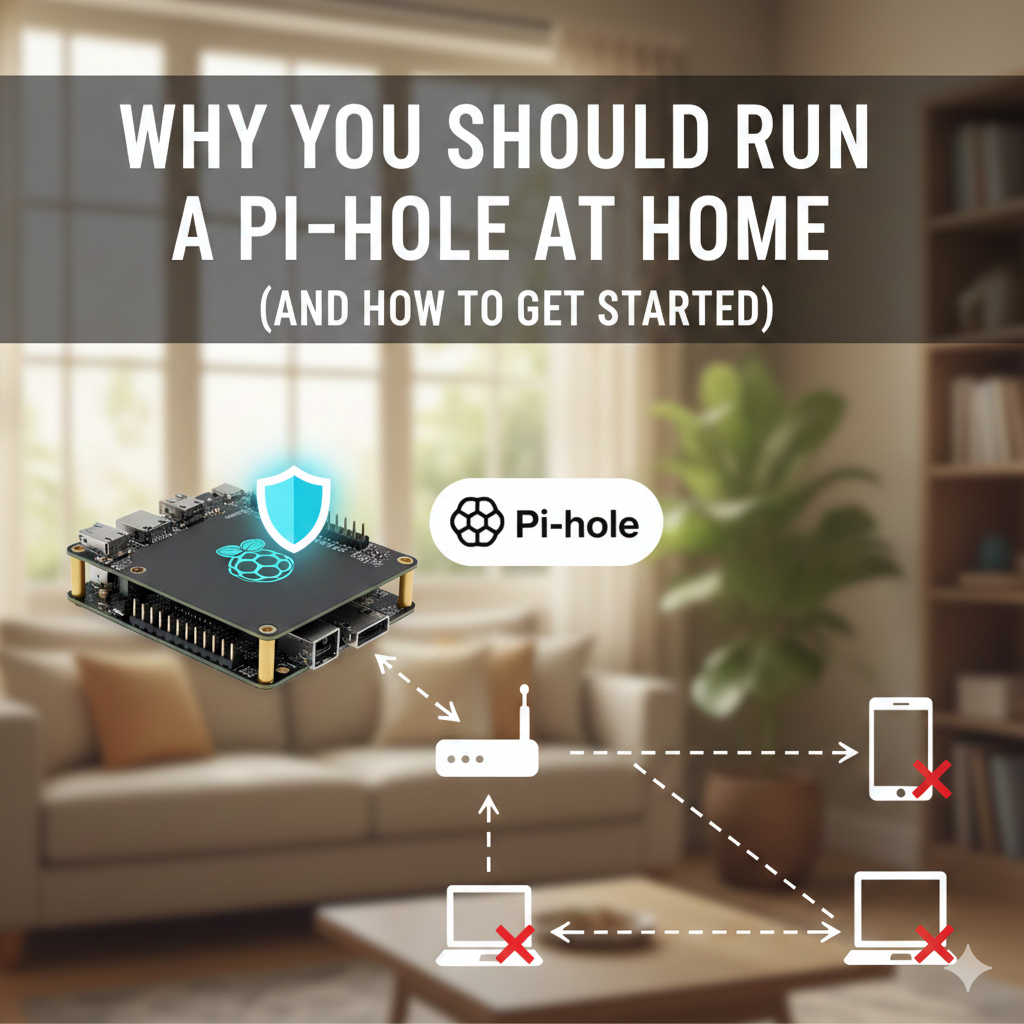
Pi‑hole is a network‑wide ad and tracker blocker. Instead of installing ad blockers on every device, Pi‑hole runs once on your network and protects everything that connects to it.
Let’s break down what it does, why it’s useful, and how you can set one up in under an hour.
What Is Pi‑hole?
Pi‑hole is a DNS sinkhole. In simple terms, it sits between your devices and the internet and blocks requests to known ad, tracking, and malware domains.
When a website or app tries to load an ad, Pi‑hole quietly stops it before it ever reaches your device.
Despite the name, Pi‑hole doesn’t require a Raspberry Pi—you can run it on many systems—but that’s where it originally got its start.
Benefits of Running Pi‑hole at Home
1. Network‑Wide Ad Blocking
Unlike browser extensions, Pi‑hole blocks ads on:
- Phones and tablets
- Smart TVs
- Game consoles
- Smart home devices
- Apps that don’t support ad blockers
If it uses your Wi‑Fi, it benefits from Pi‑hole.
2. Improved Privacy
Many ads are also trackers. Pi‑hole blocks:
- Analytics trackers
- Telemetry endpoints
- Known data‑collection domains
You gain visibility into who your devices are talking to and how often.
3. Faster Browsing
By blocking ads before they load:
- Pages load faster
- Less data is downloaded
- Slower devices feel more responsive
This is especially noticeable on older phones or low‑powered tablets.
4. Reduced Network Traffic
Blocking ads and trackers means:
- Lower bandwidth usage
- Less unnecessary background traffic
- A cleaner, quieter network
This can help if you have data caps or limited internet speeds.
5. Centralized Control and Visibility
Pi‑hole provides a web dashboard that shows:
- Top blocked domains
- Queries per device
- Which clients are generating the most traffic
It’s a great learning tool if you’re curious about networking or cybersecurity.
What You’ll Need to Get Started
Hardware Options
You can run Pi‑hole on:
- A Raspberry Pi (Pi Zero 2 W, Pi 3, Pi 4 all work well)
- An old PC or laptop
- A home server
- A virtual machine
- Docker (popular option)
For beginners, a Raspberry Pi or Docker on an existing machine is easiest.
Basic Requirements
- A device that’s always on
- Linux (recommended, but not required)
- Admin access to your router
Basic Pi‑hole Installation (Beginner Friendly)
Step 1: Prepare Your Device
Install a supported OS:
- Raspberry Pi OS (for Raspberry Pi)
- Ubuntu or Debian (for PCs or VMs)
Make sure the system is up to date:
sudo apt update && sudo apt upgrade -y
Step 2: Install Pi‑hole
Run the official installer:
curl -sSL https://install.pi-hole.net | bash
During setup:
- Choose your network interface
- Select an upstream DNS provider (Cloudflare or Quad9 are popular)
- Accept default blocklists (you can customize later)
- Enable the web admin interface
At the end, you’ll be given an admin password—save it.
Step 3: Point Your Network to Pi‑hole
This is the most important step.
Log into your router and:
- Set Pi‑hole’s IP address as the primary DNS server
- Optionally remove secondary DNS entries to ensure traffic flows through Pi‑hole
Once this is done, all connected devices will automatically use Pi‑hole.
Step 4: Access the Web Dashboard
Open a browser and go to:
CollapseSaveCopy91›http://pi.hole/admin
(or use the Pi‑hole IP address)
From here you can:
- View blocked queries
- Add custom blocklists
- Whitelist sites that break
- Monitor your network in real time
Tips for New Pi‑hole Users
- Some sites may break: If a website doesn’t load correctly, check the query log and whitelist the blocked domain.
- Don’t over‑block immediately: Start with default lists and expand slowly.
- Backup your settings once you’re happy with your configuration.
- Keep it updated:
pihole -up
Is Pi‑hole Worth It?
Absolutely.
Pi‑hole is:
✅ Free
✅ Open source
✅ Easy to maintain
✅ Effective across all devices
Whether you care about privacy, performance, or just fewer ads, Pi‑hole delivers noticeable benefits with minimal effort.
If you enjoy tinkering, it’s also a gateway into self‑hosting and home networking projects.
Once you’ve lived with Pi‑hole for a week, the modern internet without it feels… loud.
Happy blocking!